Most of my photo tips have focused on how to take your own pictures (self portraits if you please), but this week I've asked Micaela of The Drifter and The Gypsy to share her insights on how to plan a photo shoot. I often think of taking pictures of myself as practice for working with others, but there are a lot of questions about transitioning from one to the other and thankfully Micaela has some insights. I always enjoy her dreamy editorials as well!


The first step is coming up with a concept. I ask myself, “What is the general mood I’m trying to convey?/What inspired this shoot?” Usually I’m inspired by song lyrics, books and movies. From there I brainstorm a few keywords that embody the mood of my shoot. Then using those keywords I brainstormed, I search for some images to create a mood board. A mood board is essentially a collage of images that all match in style and creates the aesthetic you are trying to achieve.
 After I create a mood board, I pitch my idea (via email) to some people I’d like to be part of my photo shoot team. My team consists of a makeup artist, a hairstylist, a wardrobe stylist, and (of course) a model. It usually takes a few tries (and emails) until I piece together enough people that are interested in the shoot and available on the date that I had in mind. When choosing a model, I usually browse through the websites of agencies in my area and choose a few of my favorite models. I then email the model agent (their contact info can usually be found on their website) with my concept, accompanying mood board, shoot date, location, and team; I include as much info as possible to give them a detailed understanding of how I envision this shoot.
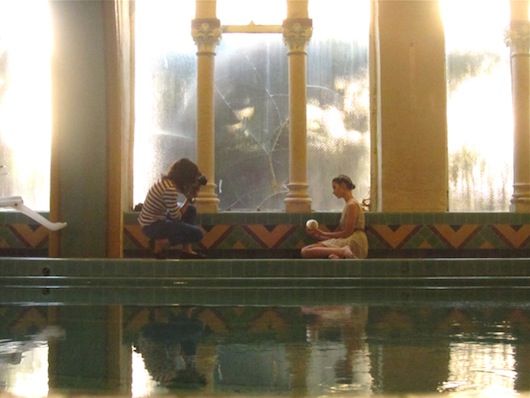
 Shoot day is the most fun and the most stressful! I always worry that someone isn’t going to show up or get lost and luckily I’ve never had that happen (although I HAVE had people back out of my photo shoots the night before). Depending on how intricate the style, makeup and hair can take 1-2 hours. Either before or after makeup is done, the wardrobe stylist will fit the model in the outfits he/she brought. In a typical editorial shoot, there are anywhere from 6-10 outfit changes. Then I shoot! I usually have a list of shots I want to get, which makes it easier to explain to the model how I want him/her to pose. When shooting digital, sometimes the photographer will bring his/her laptop to upload the photos as they go along so that they can see how the shots are coming out and if they need to change hair/makeup/wardrobe based on how the final images are looking. In most recent years, I’ve tended to gravitate toward using film photography, so I don’t have this luxury! Although I’ll always bring my camera to test the lighting before I start shooting. Film is so expensive these days, I have to use it sparingly!
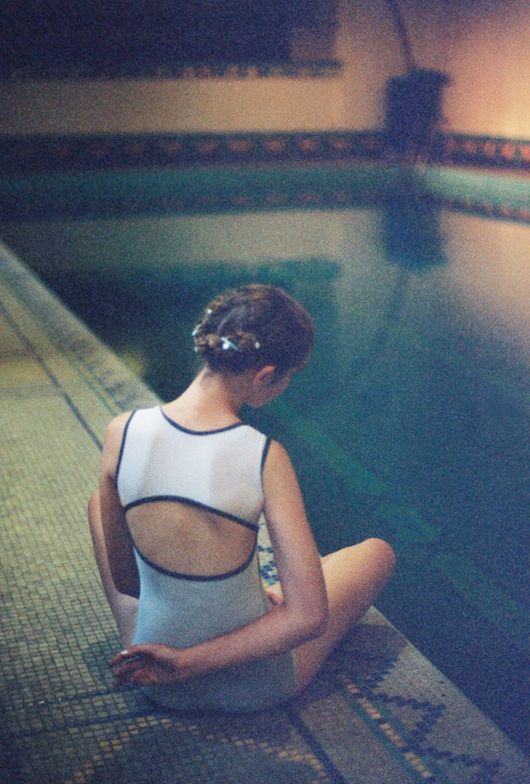
 After shoot day is done, I am left with a few hundred images to sort through, edit and retouch (if I’m using digital). When I’m using film, it’s off to the camera store I go to get my film developed! I hardly ever retouch my film photos. Something about their rawness and the grain is so natural and works so well with my vision I feel they don’t need to be retouched. However, editing down to my favorite shots can be tough. I try to keep each photo shoot or fashion story to 20 images and less to keep it cohesive. The editing process takes me about 1.5-2 weeks. I like to take a few days off in between to be able to come back to the photos with a fresh eye. Sometimes my perception of the images changes and a shot I didn’t like before I like better later.
After I’m done editing the photos I email them to the entire team and put them on my website. I’m done with another successful shoot! Hopefully this post was insightful and inspires you to start shooting for yourselves! If you’re looking for more information, I did more detailed blog posts breaking down the process: part one and part two.
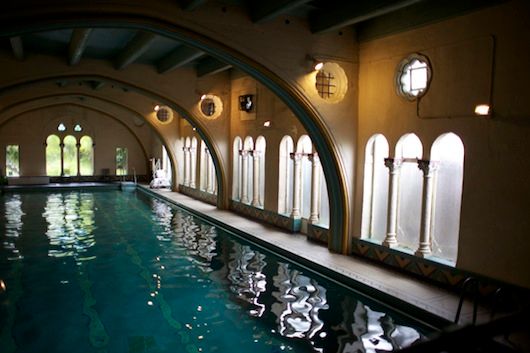
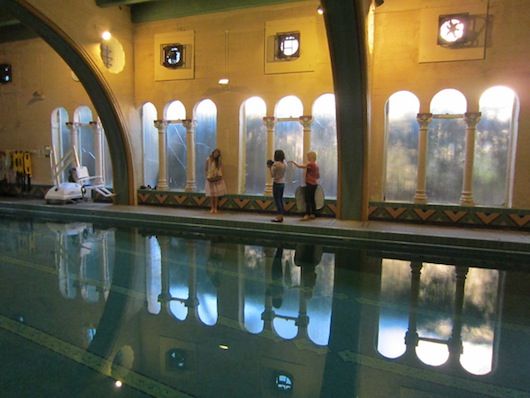
*behind the scenes photographs from my Bella Blue shoot
For more of Micaela's awesome work check out her blog and portfolio.
Planning, Organizing and Executing a Fashion Photo Shoot
Hi guys! My name is Micaela. I live in the San Francisco Bay Area and I run Drifter & the Gypsy blog as well as my fashion photography website, micaelahoo.com. My passion for photography was actually born out of my blog (I was constantly inspired by the photography I would come across when gathering content for my blog posts). Aside from one basic entry-level photography class, I am entirely self-taught. I’m excited to walk you through process I go through when planning, organizing and executing a fashion photo shoot. The first step is coming up with a concept. I ask myself, “What is the general mood I’m trying to convey?/What inspired this shoot?” Usually I’m inspired by song lyrics, books and movies. From there I brainstorm a few keywords that embody the mood of my shoot. Then using those keywords I brainstormed, I search for some images to create a mood board. A mood board is essentially a collage of images that all match in style and creates the aesthetic you are trying to achieve.
After I create a mood board, I pitch my idea (via email) to some people I’d like to be part of my photo shoot team. My team consists of a makeup artist, a hairstylist, a wardrobe stylist, and (of course) a model. It usually takes a few tries (and emails) until I piece together enough people that are interested in the shoot and available on the date that I had in mind. When choosing a model, I usually browse through the websites of agencies in my area and choose a few of my favorite models. I then email the model agent (their contact info can usually be found on their website) with my concept, accompanying mood board, shoot date, location, and team; I include as much info as possible to give them a detailed understanding of how I envision this shoot. Shoot day is the most fun and the most stressful! I always worry that someone isn’t going to show up or get lost and luckily I’ve never had that happen (although I HAVE had people back out of my photo shoots the night before). Depending on how intricate the style, makeup and hair can take 1-2 hours. Either before or after makeup is done, the wardrobe stylist will fit the model in the outfits he/she brought. In a typical editorial shoot, there are anywhere from 6-10 outfit changes. Then I shoot! I usually have a list of shots I want to get, which makes it easier to explain to the model how I want him/her to pose. When shooting digital, sometimes the photographer will bring his/her laptop to upload the photos as they go along so that they can see how the shots are coming out and if they need to change hair/makeup/wardrobe based on how the final images are looking. In most recent years, I’ve tended to gravitate toward using film photography, so I don’t have this luxury! Although I’ll always bring my camera to test the lighting before I start shooting. Film is so expensive these days, I have to use it sparingly! After shoot day is done, I am left with a few hundred images to sort through, edit and retouch (if I’m using digital). When I’m using film, it’s off to the camera store I go to get my film developed! I hardly ever retouch my film photos. Something about their rawness and the grain is so natural and works so well with my vision I feel they don’t need to be retouched. However, editing down to my favorite shots can be tough. I try to keep each photo shoot or fashion story to 20 images and less to keep it cohesive. The editing process takes me about 1.5-2 weeks. I like to take a few days off in between to be able to come back to the photos with a fresh eye. Sometimes my perception of the images changes and a shot I didn’t like before I like better later. After I’m done editing the photos I email them to the entire team and put them on my website. I’m done with another successful shoot! Hopefully this post was insightful and inspires you to start shooting for yourselves! If you’re looking for more information, I did more detailed blog posts breaking down the process: part one and part two.
*behind the scenes photographs from my Bella Blue shoot
For more of Micaela's awesome work check out her blog and portfolio.


No comments:
Post a Comment